


SHIPPING AND DELIVERY Est. 2-5 DAYS
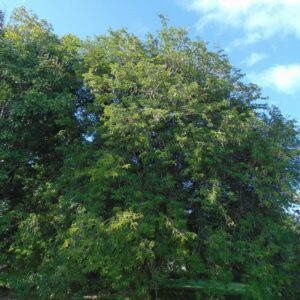
Tamarindus indica, commonly known as tamarind, is a frost-Fast, tropical
evergreen tree that typically grows to 40-60′ (less frequently to 90′) tall. It
is native to eastern Africa, but is now commonly grown and in some cases has
naturalized in a number of tropical to subtropical areas around the world.
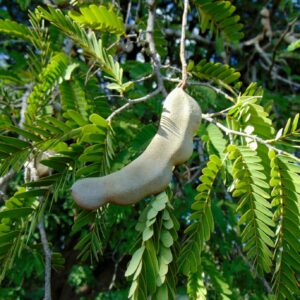
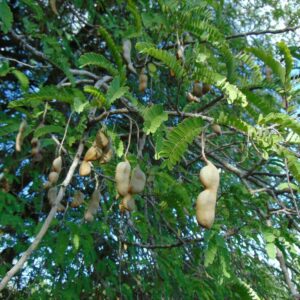
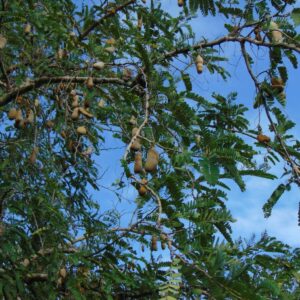
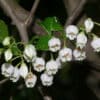
Tamarind trees feature (a) short stout trunks topped by bushy wide-spreading
crowns with arching branches, (b) ferny, even-pinnate, compound leaves with
light green leaflets, (c) summer bloom of red-veined cream to pale yellow
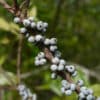
flowers in drooping racemes and (d) plump cinnamon-brown bean-like seed pods
filled, when ripe, with an edible sweet-sour pulp which has a variety of
culinary uses. Leaves are evergreen, but some leaf drop will occur in climates
which have a dry season. Each leaf (to 6″ long) contains 10 to 18 pairs of
1″ long, elliptic-oval leaflets which cast an often attractive dappled
shade. Leaflets typically close up at night. Small 3-petaled flowers (each to
1″ across) bloom in lax, 6-10 flowered racemes (each to 6″ long), but
flowers are not particularly showy from a distance. Flowers give way to
cinnamon-brown, bean-like pods (to 3-8″ long) which are commercially grown
for fruit production, particularly in Southeast Asia and India where the pulp is
commonly added to curries. This edible pulp/paste from the pods is used in a
variety of culinary applications including curries, chutneys, sauces, sherbets,
jams, syrups, and beverages. It is an ingredient in Worcestershire sauce. Parts
of tamarind tree are also used medicinally. Winter hardy to USDA Zones 10-11
where it is best grown in acidic, fertile, sandy, moist, well-drained soils in
full sun. Tolerates a wide range of soils. Established trees have good drought
tolerance. It is grown as a shade and street tree, a fruit tree and as a
specimen tree .
Growing Instructions
1. Scarify the seeds by nicking or sanding the seed coat.
2. Soak the seed in water for several hours.
3. Prepare a mixture of half potting soil and half sand, perlite or
vermiculite. Water the mixture so that it is moist but not wet.
4. Put the seeds on the soil.
5. Cover the seeds with a thin layer of soil.
6. Water the seeds.
7. Place the pots in an area with warm temperatures in full sun or part
shade.
8. When the seedlings are a few inches tall, they can be transplanted.


Lucas (verified owner) –
WOW!! Not one dud in the bunch!! Shortly after planting they started growing ! These are really great packet of seeds!!!
Patrick (verified owner) –
Good quality.
William (verified owner) –
I would absolutely recommend this seed to anyone looking to grow veggies this year. I decided to do starts this year and just three days after planting
Camden (verified owner) –
Very fast delivery.
David (verified owner) –
Good quality.